
In a world increasingly reliant on digital data, securely backing up your files is essential. For Mac users, Time Machine offers a seamless solution for safeguarding precious data. Pairing this powerful backup utility with the Synology DS218+ NAS can take your data protection strategy to the next level. This article will walk you through the precise steps for configuring a Synology DS218+ NAS for Time Machine backups, ensuring a reliable and efficient backup process.
Understanding the Synology DS218+ NAS and Time Machine
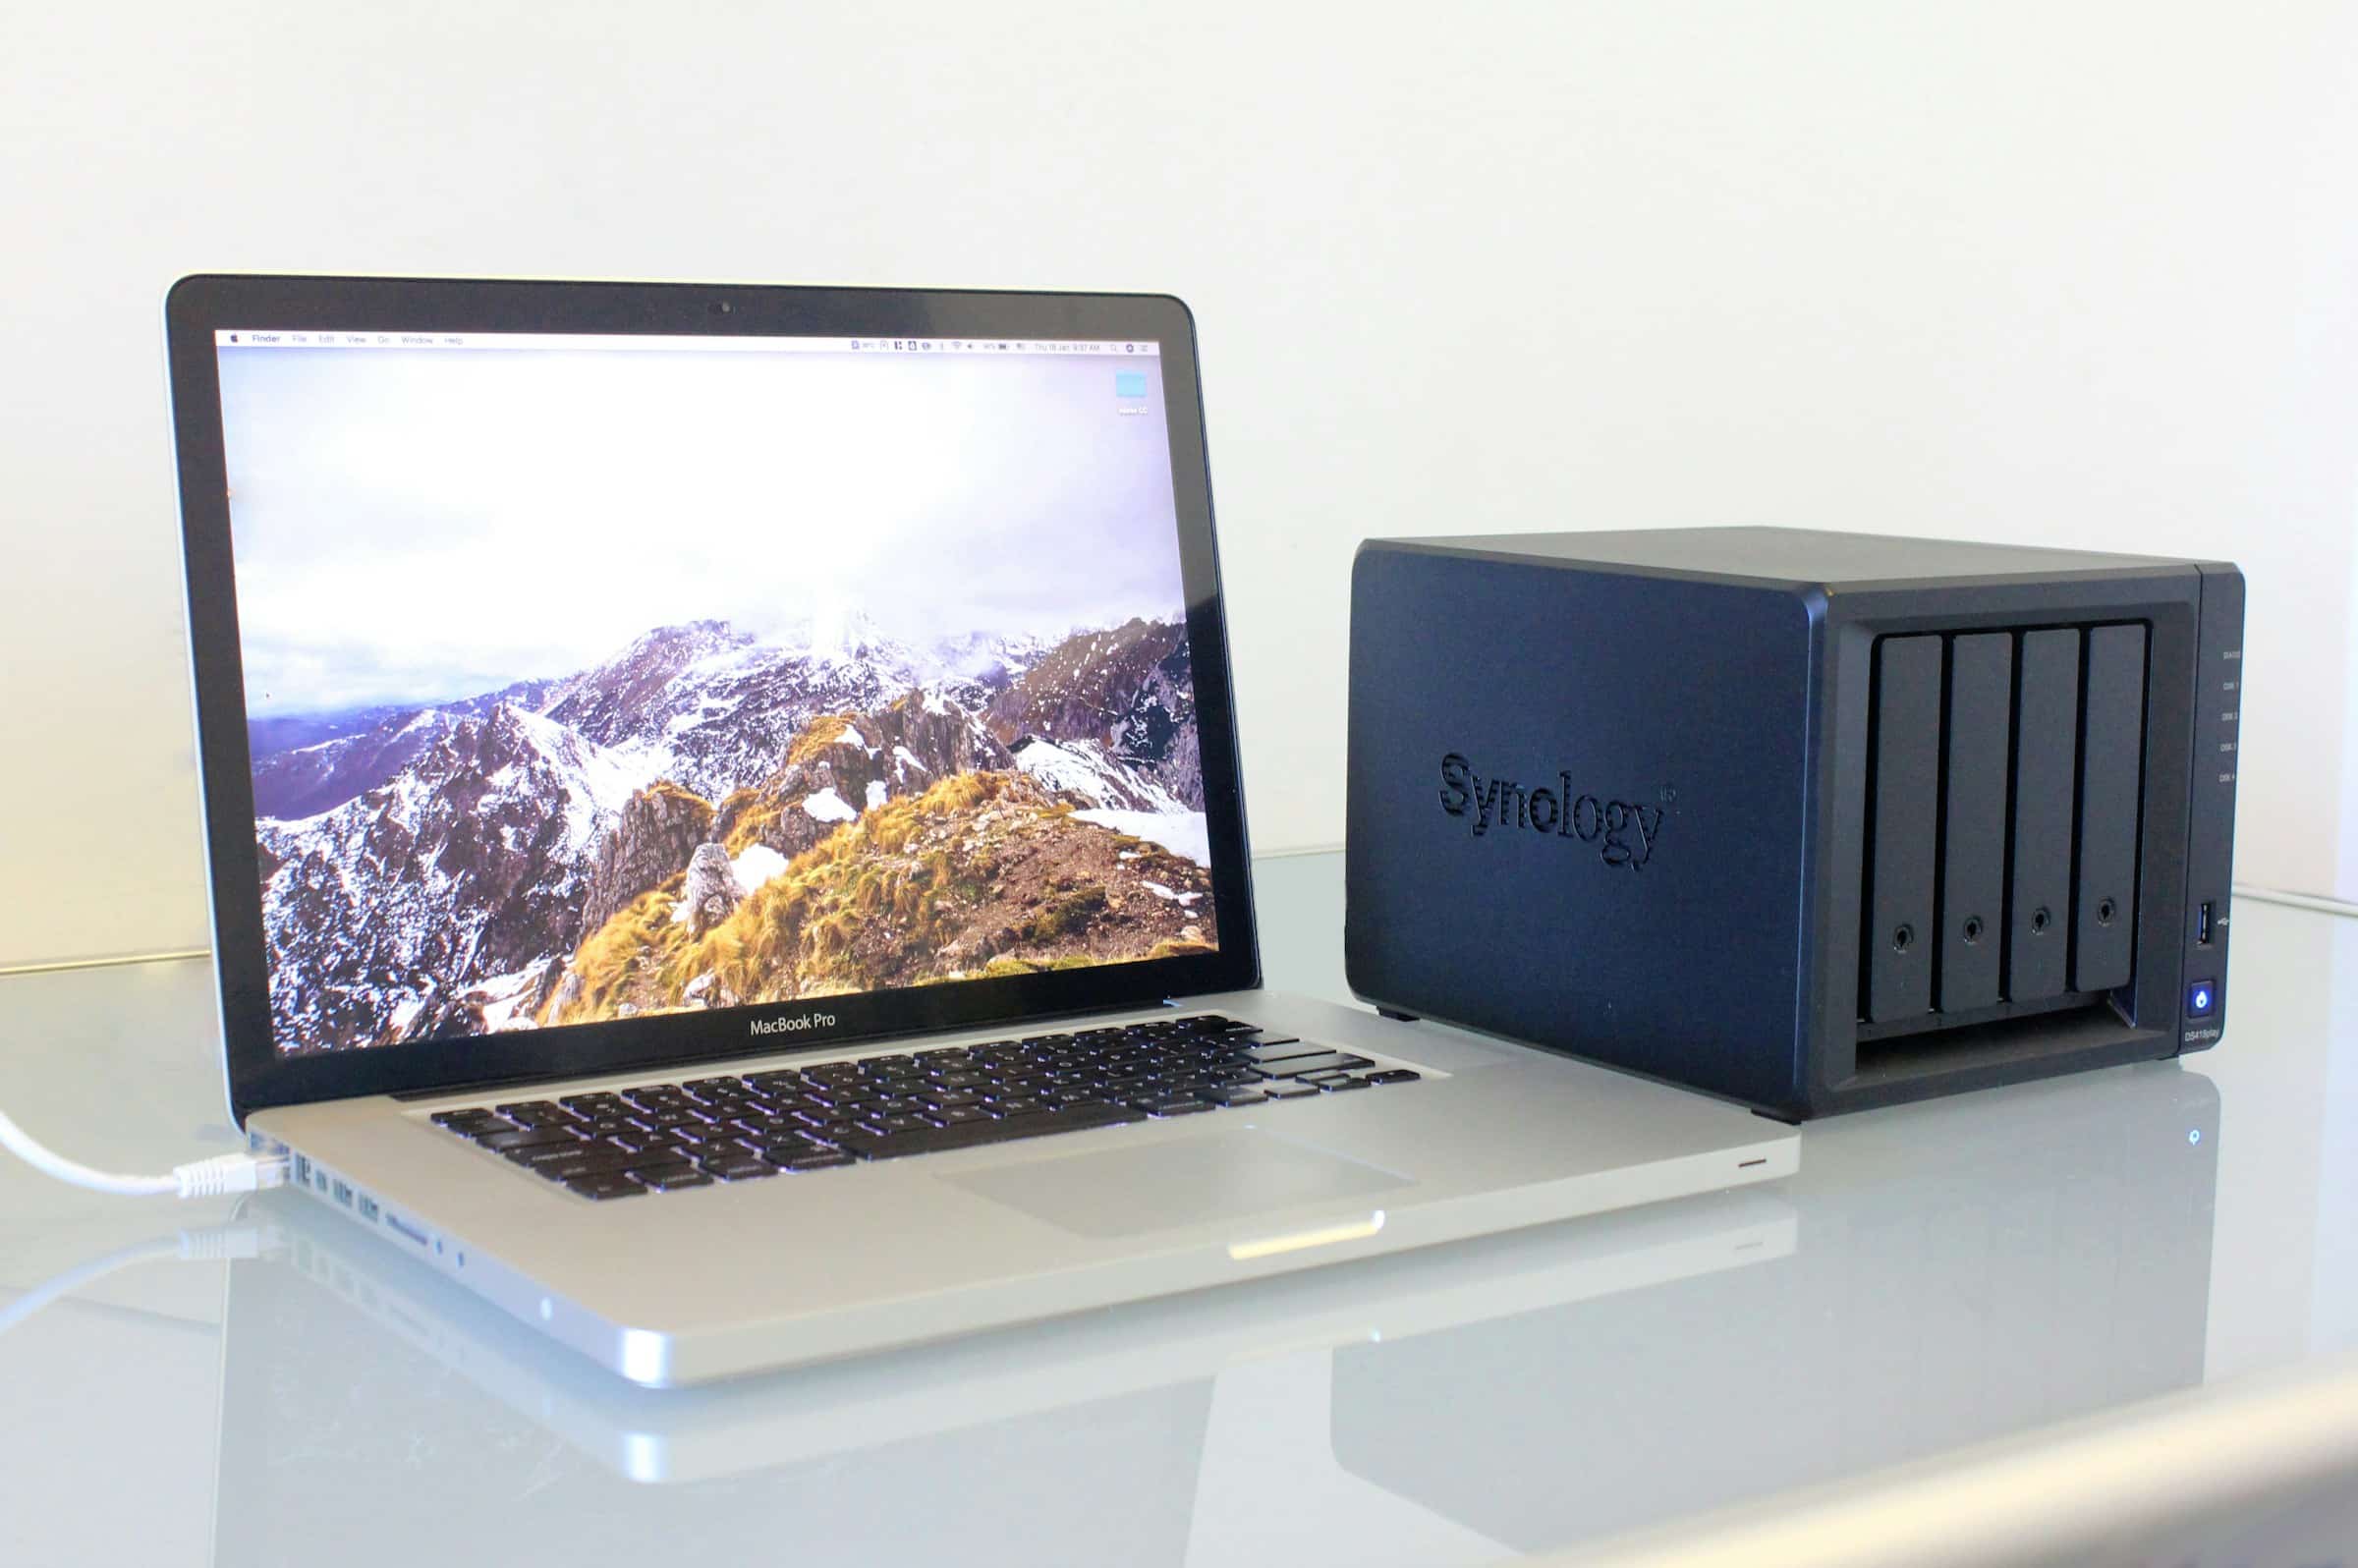
The Synology DS218+ NAS (Network Attached Storage) is a versatile and powerful storage solution, designed to meet the needs of both individuals and small businesses. Time Machine, on the other hand, is Apple’s backup software integrated into macOS, providing an automatic and effortless way to backup all your data. When combined, these tools can offer a robust backup system, allowing for easy data recovery and peace of mind.
A lire en complément : How can you set up a multi-bay external HDD enclosure for backup and storage on a MacBook Pro?
The first step to setting up your Synology DS218+ NAS for Time Machine backups is to understand the capabilities of both the NAS and Time Machine. The DS218+ offers ample storage capacity, data redundancy, and a user-friendly interface. Time Machine ensures that backups are incremental, meaning only the changes since the last backup are saved, which optimizes storage use. Understanding the strengths of these tools will help you configure them effectively.
Preparing Your Synology DS218+ NAS for Time Machine Backups
Before diving into the configuration process, there are essential preparations required to ensure a smooth setup. The initial steps involve setting up your Synology DS218+ NAS and ensuring it is ready for Time Machine.
Sujet a lire : How can you set up a home automation server using a Lenovo ThinkCentre M90n Nano IoT?
- Initial NAS Setup: Unbox your Synology DS218+ and follow the setup instructions provided. Connect it to your network via Ethernet and power it on. Use a web browser to access the Synology DSM (DiskStation Manager) interface by entering “http://find.synology.com” or the NAS’s IP address.
- DSM Installation: Follow the on-screen instructions to install the latest version of Synology DSM. This operating system is crucial as it provides the necessary tools and environment for managing your NAS and configuring backups.
- Create User Accounts: For security and organization, it’s beneficial to create individual user accounts on your NAS. Navigate to Control Panel > User & Group. Here, you can add new users, assign permissions, and set up storage quotas.
- Volume and Shared Folder Creation: To store your backups, you need to create a volume and a shared folder. Go to Storage Manager > Volume to create a volume, and then navigate to Control Panel > Shared Folder to create a new shared folder specifically for Time Machine backups.
- Enable SMB Service: Time Machine requires the SMB (Server Message Block) protocol to function correctly with Synology NAS. Ensure SMB is enabled by going to Control Panel > File Services > SMB/AFP/NFS and enabling SMB.
These preparatory steps are vital to ensure your Synology DS218+ NAS is perfectly poised to handle Time Machine backups efficiently.
Configuring Time Machine on Your Synology DS218+ NAS
With your NAS prepared, it’s time to configure Time Machine to start backing up your Mac. This process involves several key steps to ensure the integration is seamless and reliable.
- Create a Time Machine User: For added security, it’s advisable to create a specific user for Time Machine backups. In the DSM, go to Control Panel > User & Group, add a new user, and assign them to the Time Machine shared folder you previously created. Ensure this user has read/write permissions.
- Enable Time Machine Support: Navigate to Control Panel > File Services > SMB/AFP/NFS. Under the Advanced tab, enable the “Time Machine support” option. This will make your shared folder recognizable as a Time Machine backup destination.
- Set Quotas: To prevent Time Machine backups from consuming all available storage, set a quota for the Time Machine user. Go to Control Panel > User & Group, select the Time Machine user, and set a storage quota under the Quota tab.
- Connect Your Mac to the NAS: On your Mac, open System Preferences and select Time Machine. Click on “Select Backup Disk” and choose the shared folder you created on your Synology DS218+. Enter the credentials for the Time Machine user when prompted.
- Initiate Backup: Once your Mac is connected to the NAS, Time Machine will begin the initial backup process. Depending on the amount of data, this could take several hours. Subsequent backups will be incremental and should complete more quickly.
By following these steps, you’ll configure your Time Machine to back up to your Synology DS218+ NAS, ensuring your data is securely stored and easily recoverable.
Best Practices for Managing Time Machine Backups on Synology DS218+ NAS
Effective management of your Time Machine backups will ensure that your Synology DS218+ NAS continues to perform optimally and that your data remains secure. Here are some best practices to follow:
- Regular Monitoring: Periodically check the status of your backups. In the DSM, navigate to Control Panel > Shared Folder and monitor the storage usage. Ensure that backups are completing successfully and that there are no errors.
- Routine Maintenance: Keep your DSM and Time Machine software up to date. Regularly update to the latest versions to benefit from security patches, performance improvements, and new features. This can be done in DSM under Control Panel > Update & Restore.
- Backup Verification: Occasionally verify your backups by restoring files or folders from Time Machine. This ensures that your backups are not only completing but are also viable for data restoration.
- Manage Storage Quotas: Regularly review and adjust storage quotas for the Time Machine user. This helps in managing available storage and preventing backup failures due to insufficient space.
- Secure Access: For added security, enable two-factor authentication for DSM login and ensure that the Time Machine user account has a strong, unique password.
- Offsite Backup: Consider setting up an additional offsite backup for critical data. Synology offers features like Hyper Backup, which can be configured to back up your NAS data to another location, providing an extra layer of data security.
By adhering to these best practices, you’ll maintain a robust and reliable backup system, ensuring your data is always protected and accessible when needed.
Troubleshooting Common Issues with Time Machine and Synology DS218+ NAS
While configuring and managing your Time Machine backups on a Synology DS218+ NAS is generally straightforward, you might encounter some common issues. Here’s how to troubleshoot and resolve them efficiently:
- Backup Disk Not Found: If your Mac cannot find the Time Machine backup disk, ensure that both your NAS and Mac are connected to the same network. Confirm that SMB is enabled on your NAS and that the Time Machine support option is active.
- Authentication Problems: If you encounter authentication issues when connecting Time Machine to the NAS, double-check the user credentials. Ensure the Time Machine user has the correct permissions and that the password entered on your Mac is correct.
- Insufficient Space: If Time Machine reports insufficient space on the backup disk, review the storage quota set for the Time Machine user and adjust if necessary. You may also need to delete old or unnecessary backups to free up space.
- Slow Backup Speed: Backup speed issues can often be traced to network performance. Ensure your NAS is connected to your router via Gigabit Ethernet and that your Mac is also on a high-speed network connection. Avoid performing large file transfers or streaming high-definition content during backups.
- Backup Fails to Complete: If backups fail to complete, check the Synology DSM logs for any error messages. Navigate to Log Center in DSM to review logs and identify potential issues. Restarting both your NAS and Mac can sometimes resolve transient issues.
By understanding these common issues and their resolutions, you’ll be better prepared to maintain a smooth and effective backup process.
Configuring your Synology DS218+ NAS for Time Machine backups requires diligent preparation and precise steps. By understanding the strengths of both the Synology DS218+ and Time Machine, preparing your NAS, and following best practices, you can create a reliable and efficient backup system. Whether you are safeguarding personal data or critical business information, combining these powerful tools ensures your data remains secure, accessible, and protected against loss.
In following the comprehensive guide above, you now have the knowledge to configure a Synology DS218+ NAS for Time Machine backups successfully. Embrace these steps to secure your digital life with confidence and peace of mind.